Videos
How to install a Duratech Centre-Pivot Pine Roof Window
Duratech DVX M4A Centre Pivot Roof Window
Unboxing the window and fitting the brackets
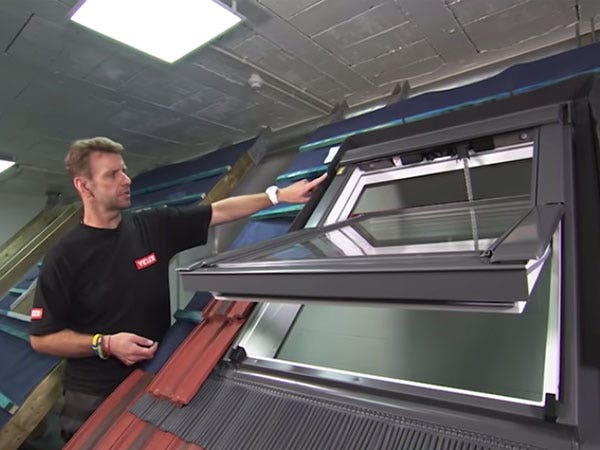
Hi, I'm Chris from Duratech. Today I’m here at JJ Roofing and we're going to be installing a centre pivot pine roof window. As you can see from the box, the code for this roof window is DVXM4A. You don't necessarily need to learn the codes as the size is on the box. As you can see here, it's 78 x 98cm. As you can see from the box, we have a central pivoting pine roof window and this roof window can be installed between pitches of 15 degrees and 90 degrees. Once you begin unpackaging the window, you’ll find in the box the brackets, the handle and the fixings. And there will also be some instructions for fitting the window. This timber baton here is just for protection and will need to be removed prior to installing the window. For now, however, we are going to use it as protection just as we lift the frame up. Before installing the roof window, we will need to remove the sash from the frame. In order to do this, flip the frame over onto its side, open up the sash. These pins then need to be pressed. This is the opportune moment to take the ban off the bottom of the roof window as it can then be used to rest the sash on. You just peel it back. Once the buttons on the hinges have been pressed in, you can then remove the sash.
So in the box you'll find two pairs of hinges, the fixings for the hinges, a handle and the fixings for the handle. There is also a packer. You'll see from the instructions the brackets need to be installed 10cm down and there is a little groove which they just slot into. Then repeat the process for the other three brackets: two on the bottom, two on the top.
Attaching the frame
So all we've done here is we've cut back the batons, folded the felt over, stapled it back to make it nice and neat. Next we're going to bring the frame through. We're going to bring it through sideways and if you have your handle slots down to the bottom, you know you've got it the right way up. There are little slots on the hinges so you know it's gone in the right way. So you want to have a tolerance of between 40 and 60mm and you want that on both sides. So once you've ensured that the frame is level, it can then be fastened to the batons. Don't quite fasten the screw all the way in, as you'll want to adjust it just before, for the final fix. And then simply do the same at the top. So once you're happy everything is square and level, you can tighten up the screws.
Fitting the handle
So the next step is to put the handle on. As this is the slim frame, the handle is not pre-fitted; however, with all the other sizes, it will be already pre-installed. You'll notice that it's already pre-drilled, so it's fairly obvious where it should go.
Checking the frame is square and level
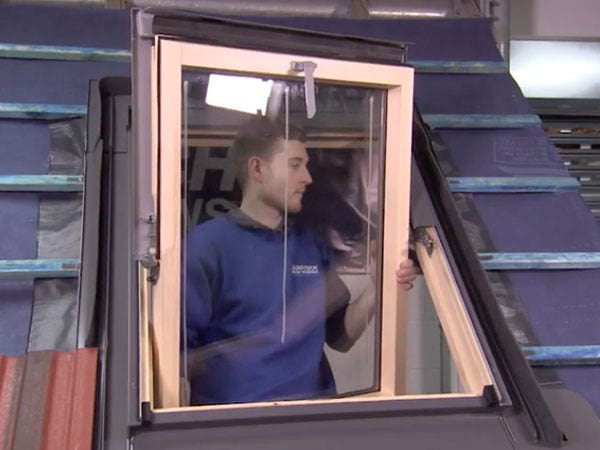
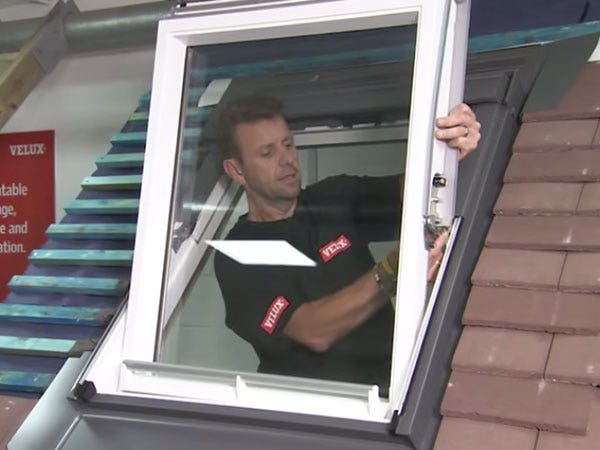
So next, you want to bring the sash through sideways on, and then you can put the hinges in one at a time, being sure not to bang the frame on the way out. So once you've got the hinges in place, all you need to do is rotate it around and you'll hear two clicks, and that's the hinges locking in. Once the sash is in situ, all you need to do is open it up, bring it back down slowly, then check your daylight gap just to ensure that everything is level. So now all you want to do is close the window back over and then just check the gap at the side is consistent all the way up. So now that we know the window is fitted correctly, what you want to do is take the sash out, just so we can finish the external work. All you do is open the window back through, push the small buttons in once again on either side. Then the sash will come out.
Installing the RUC Underfelt Collar
Next we're going to be installing the RUC under felt collar. It's sold separately to the roof window and it's designed to significantly reduce the installation time.
So once you've opened it up, you'll notice that the hole is already cut out for this. All you then need to do is stretch it around the corners of the frame. So all we've done here is we've loosened off this baton so that we can tuck the collar underneath. Okay, so what we're going to do now is the same as at the bottom. Just loosen off these screws so that you can put the collar under the baton. Cut the collar where appropriate, just to make sure it tucks under nicely. So next, just cut the collar, tuck it underneath the slot and then fasten it underneath the baton. Next, you can cut off any excess that you don't need before you fasten it to the frame. Next, we want to staple the under felt collar to the frame, just so that it doesn't move when we want to cut out for the batons. Next, we just want to cut the under felt collar around the batten. Next, simply fasten the collar to the frame.
Fitting the bottom flashing
Next, we're going to install the tile flashing kit. That’s denoted by the 'T' in the code. The M4A describes the window size, like previous and the size again, 78 x 98cm. So next we're going to be installing the tile flashing kit. All the parts are numbered between one and seven, as you can see here. Number one simply lines up with the pre-drilled holes. Hold it in place, then using number two, you can get it locked in before you fix it, just using the two push-in slots there. Then simply fasten to the frame using the small grey screws in the flashing kit. So once number one and two are fixed in place, you can then mould number one around your tiles. It's quite easy to do. Just push it in and refill.
Fitting the side flashing
Next, we're going to fit the side pieces which are number three. You just slide these down either side. There is a small flap and you just push it through there. Push it and slide down, into that small notch there. Then using this clasp on the side, just to secure. Using the tacks and the small clips provided in the box, use those to secure. Make sure you do this for each baton on both sides. So next, we're going to put the tiles on. We have actually de-nibbed this one, just so that it can rest over the foam. This tile will be sitting roughly here. And so what we're going to do is just make a short notch with a knife, so we know where to cut it. Then leaving more foam at the bottom than at the top, just cut down.
So you want just enough foam so that the tile compresses the foam but doesn’t hold it, hold the tile off. And once you find that balance, simply fasten it on. So next we're going to be installing part number four. This is quite simple. It's a small notch at the bottom here that fits into this notch also. It can be lined up quite easily with the pre-drilled holes. So if you just hold back the rubber, being sure not to crush it when you're screwing it in. And then just repeat for the other side. So next we have number five. These just go here using the small hole. I'm just going to fasten it straight onto there, pulling it tight with that side. And then again, the same for the other side.
Fitting the top Flashing
Next we have number six. This is just the top piece. There's two pre-drilled holes just either side, so this just sits on and it will rest on its own. Then using the pre-drilled holes as the guide, fasten it in and then repeat for the other side. This is the final piece of the flashing kit, number seven. This just slots on top. It can be a little bit tricky just to get it in all the different slots. So there's two runners on either side that you need to align it with.
There is also this top part here and then these small clips at the side. You just want to bend the ends out a tiny bit, just so they go into these small cut-outs. So these fit into place. You can then bend those around.
Re-installing the sash
Okay, so finally, if you just put the sash back in. One hinge at a time. Finally, if you put the window back into the frame, securing each hinge individually. Once again, you'll hear the two clicks. Finished. And so that is how you install an M4A window using the tile profile flashing. The last thing to do is just to take off the wax strips.


