Using thermal imaging to locate leaks
For any roof to do its job properly it must stop the ingress of water into the building below. If water is allowed to penetrate the roof structure, it can cause untold damage, not to mention mould and damp patches in the home.
One way which building contractors use to locate the point of water ingress into a roof is using a thermal imaging camera. The camera allows the contractor to see the points of water penetration easily on a screen, so the defect can be located quickly. The image determines wet areas and dry areas on both the internal walls and external walls and can even detect condensation issues.
A thermal imaging camera is able to locate leaks simply because a dry roof will heat up and cool down quicker than a wet roof, so the wet area will be visible from the colour change, showing you the point of origin as well as the extent of the leak. This works best on a sunny day so that the sun can heat up the roof and create a temperature differential that makes it easier to see.
Once the sun has gone down and (ideally) a clear night allows the ambient temperature to drop somewhat, the damp area will often be up to 20F warmer than the dry area, providing a very clear view of exactly where the leak is and how much of the roof needs to be repaired.
When the building contractor has the information needed to make a diagnosis of the problem, only the affected area will need to be treated, so minimal work will be needed to instigate a repair.
It's worthwhile getting a roofing contractor to take a look over your roof once a year or so to check for defects. Any problems that are not noticed or any problems that are ignored will only develop into more serious issues which will cost more money to rectify in the future.
Our Top Videos.


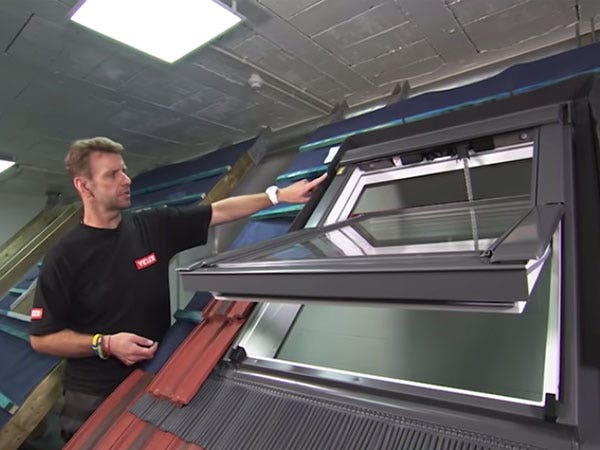
How to install a Velux Integra Electric Roof Window (5 Parts)
In this five-part guide, we take you through the full installation of a Velux GGU Centre Pivot Integra Roof Window onto an...


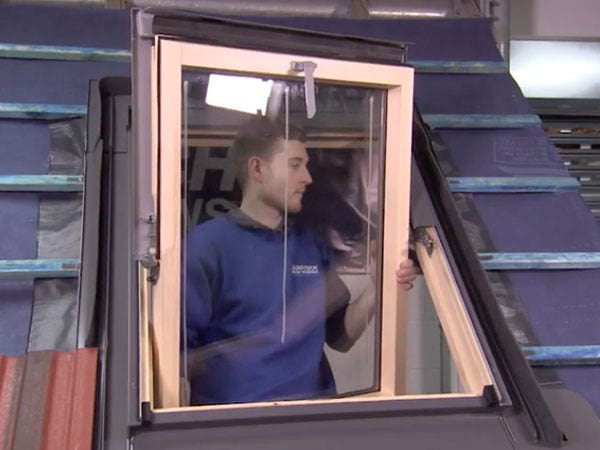
How to install a Duratech Centre-Pivot Pine Roof Window
Once you begin unpackaging the window, you’ll find in the box the brackets, the handle and the fixings. And there will also be some instructions...
Ideas & Advice
How-tos, tutorials and videos


How and why to use or snap a chalk line
Chalk lines are the fastest way to mark straight guidelines on flat surfaces. They are used extensively in the building and construction industry to speedily and accurately ‘draw’ straight lines between two points. Chalk lines are inexpensive tools...


Skylight Blinds: A Guide To The Different Types
Like many household product, blinds for skylight windows come in all shapes, sizes, and materials. Some are designed with a tangible purpose in mind, while others are more for show. One thing’s for sure - buying any type of skylight blind...


