Improving Product Knowledge – Staff Duratech Training

Improving our product knowledge
At JJ Roofing Supplies we're constantly striving to increase our product knowledge across the board. From our accounts department to the marketing team to the logistics department, everyone has regular product training. This means everyone working at JJ Roofing Supplies is well informed about the products we stock and sell.
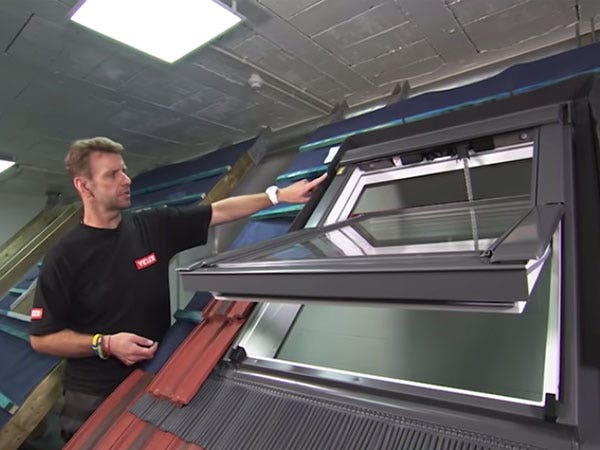
This week, different teams from our across the company have been taking part in training with, as well as assembling our popular Duratech range of roof windows. Installing them ourselves gives us a better understanding of how the product works and allows us to help our customers that much more.
The teams have been installing both pine and uPVC windows on profile, plane tiles and slates. Although these are similar in concept and technique, the difference in tiles shape, size and profile means that alternative flashing kits must be used on each. Knowing how one window and flashing kit is installed does not mean you could install a different one in the same way.
Here's a brief overview of what's involved in the practical training.
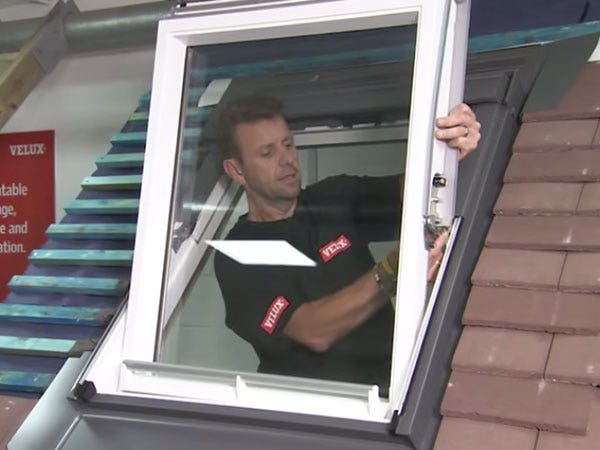
To start, the teams unbox the windows and the first step is to remove the sash (window) from the frame. This is very easy, and is achieved by simply depressing the two buttons on the inside of the window frame, after these are pressed in the sash simply slides out of the frame.

The next step in the process is attaching the brackets to the window frame, these slide into position and are simply screwed into the frame. These brackets are the point at which the window is secured to the roof battens.

The next step is resting the frame onto the battens, it's encouraged to partially attach the frame to the battens with screws to make sure the frame is sat level before completely attaching it.


When the frame is properly situated, the flashing kit can begin to be added. This is a waterproof kit that is installed on all sides of the window.


Depending on the tiles/slates on the roof, the sides of the flashing kit are added sequentially with a tile on top of each, this is to maintain the flow of rainwater on the tiles.

One of the last steps is to slide the window into the frame. This is one of the easiest parts, although fiddly it's simply a case of sliding the window back into the frame and then rotating the window until you hear the buttons clips back into place.

The final step is attaching the handle. Job Done.

The feedback we have received from all staff is that they were surprised how straightforward it was to do.
Even though we install them from the safety of ground level, our training rigs allow all of our staff to learn the best practice for installing our products from the people who manufacture them.
The training rigs also allow more staff members to see a range of roofing products being installed in situ as opposed to getting multiple members of staff up onto a roof which would be very difficult, this ensures everyone has an equal chance to learn about all of our products.
JJ Roofing Supplies Staff Training - Just one of the ways we're improving our service.
Our Top Videos.


How to install a Velux Integra Electric Roof Window (5 Parts)
In this five-part guide, we take you through the full installation of a Velux GGU Centre Pivot Integra Roof Window onto an...


How to install a Duratech Centre-Pivot Pine Roof Window
Once you begin unpackaging the window, you’ll find in the box the brackets, the handle and the fixings. And there will also be some instructions...
Ideas & Advice
How-tos, tutorials and videos


How and why to use or snap a chalk line
Chalk lines are the fastest way to mark straight guidelines on flat surfaces. They are used extensively in the building and construction industry to speedily and accurately ‘draw’ straight lines between two points. Chalk lines are inexpensive tools...


Skylight Blinds: A Guide To The Different Types
Like many household product, blinds for skylight windows come in all shapes, sizes, and materials. Some are designed with a tangible purpose in mind, while others are more for show. One thing’s for sure - buying any type of skylight blind...


