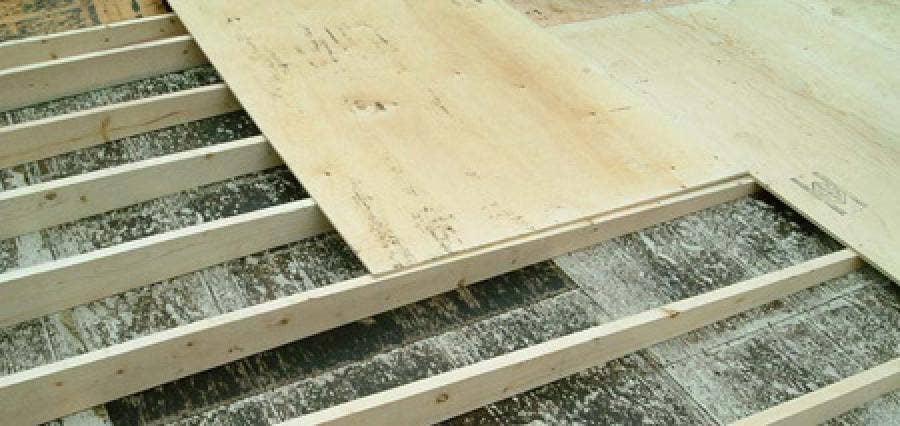
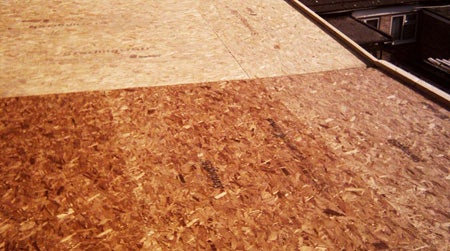
There will be several factors to consider before even purchasing your EPDM membrane. So first point to notice is that EPDM will not apply directly onto insulation. The contact adhesive will react with polystyrene so make sure you have a suitable base laid underneath to begin with. Preferably some form of wooden board or lightweight concrete.
Prepare the roof
Next check the weather. The roof will have to be completely dry, free of dirt, leaves, water, rubbish, oil or anything else which would be loose. The surface cannot be damp in any way as the membrane will not adhere to it. If the rubber is installed and moisture is trapped underneath there is potential for the EPDM to bubble (much like a poorly installed car window tint) ruining the installation and your EPDM membrane and possibly your roof could be rendered useless.

Be positive that the roof has at least a 1 to 80 fall. This is the absolute minimum for and EPDM rubber roof (also good practice for any flat roof in general) to prevent ponding. (ponding is the accumulation of water on a roof without it being able to run off anywhere else, creating a dead load on the roof). This may not seem so difficult if you are roofing a garden shed or installing a sheet onto a small porch, but with larger flat roofs this becomes a lot more important and somewhat trickier. If you are having difficulty or are sceptical about your installation do call an expert for more advice.
Do you have the correct tools?
Dependent on the size of the job different tools may be useful and necessary. A range of special EPDM tools can be found in our store but do consider the need for general tools such as a broom, paint brushes and maybe a chalk line.
In summary an EPDM roof can be a very easy job indeed as long as the correct preparation is taken. Like any job make sure you plan ahead and prepare accordingly.


