Videos
How to install a Velux Centre-Pivot Roof Window - Part 3
Installing the BDX Insulation collar and transverse drainage chanel
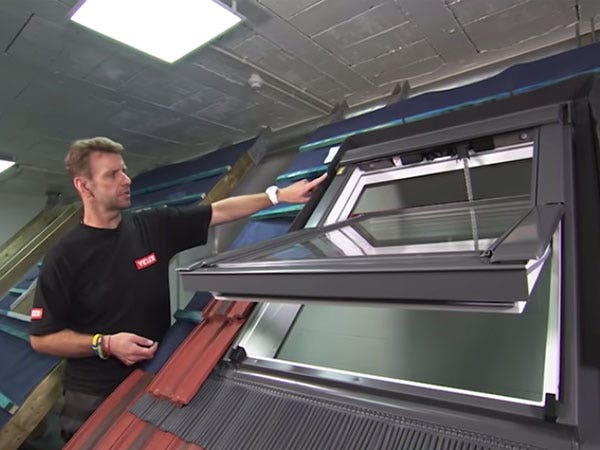
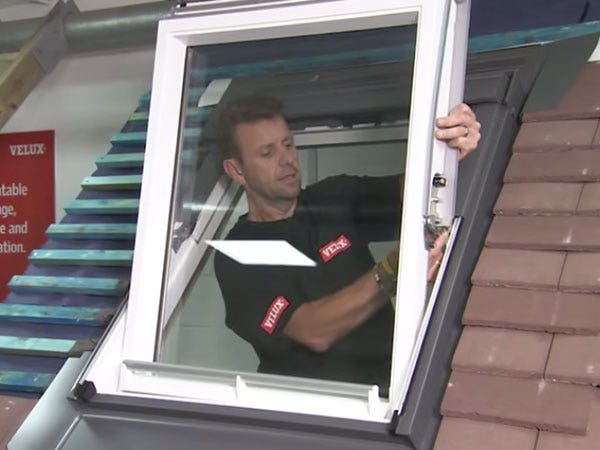
In this 4 part guide, Mark Dymond – Velux Technician installs a Velux GGU Centre Pivot Roof Window onto an Interlocking Tile Roof. Demonstrating the installation of the BDX Insulation Collar and EDW Flashing Kit for Redland 49 Tiles.
In Part 3, we complete the installation of the BDX Collar, this included fitting an Underfelt Collar around the frame and installing a Transverse Drainage Gutter. Further protecting and insulating the window.
View the other parts here:
Part 1: Unboxing the window and preparing it for installation
Part 2: Fitting the Insulation Collar and checking the Frame is square and level
Part 4: Installing the Flashing Kit and finishing the installation
Video Transcription
Securing the underfelt collar to the frame and battens
This is the under felt collar, which is basically just a breathable membrane similar to what you'll find on the roof itself. There are two flat sections of membrane which will cover the top and bottom of the window, as well as pleated side sections which give you an element of flexibility to dress them up and over the battens, as you'll see shortly. What we'll do is firstly open up the felt collar. And you'll start to see the welded corner sections which is what is going to help temporarily hold this to the window before we actually fully fix it. So to do that first, I’ll just need to lift this up and over my head, and around the window. Then slip this around at the base, and we're ready to start securing this to the window itself. To secure the felt collar to the window, we just have these strips of butyl putty. The advantage of this is regardless of the type of finish, whether it's the polyurethane, varnished pine or white painted pine, it will stick to any of our window types and window finishes. So what we need to do first is just peel off this little protective cover and keeping this flush to the top edge of the window there, just fold that first little tab around to secure it to the side of the window frame. Then just peel and stick as we go, just keeping it fairly level to the top of the window.
We don't want it sticking up too far, otherwise it may get in the way of our flashings and claddings. As we get to this edge, again, just peel off the rest of the protective cover and just fold that around to secure to this side of the window. Now, we're going to work our way up either side. And it's going to follow exactly the same principle. Except this time, as we stick this to the side of the window, we're going to keep our hand nice and tight in the corner to keep this as a sharp 90 degree angle as possible. So as before, peel off and initially, stick this around the corner and then just keep your hand in this edge as we go and then just tighten that in and push it nice and tight to the window as we work our way up. So as we get to the top, as before, we'll just fold that piece around the top of the window. And then repeat the process for the rest of the window itself. So for this bottom section, we need this to be in close contact with the membrane. So what we'll need to do is just remove the fixings for these battens to enable us to just lift them up slightly and tuck the membrane underneath. Now, just lift the batten and just slowly feed the membrane through. And do the same with the second one. Once they're through, just run your fingers along the bottom edge here, just to draw it back up so it's a nice, tight fit against that installation batten at the bottom. Then we'll just re-apply the fixings.
Now, as the membrane bridges the battens, this is where the pleats come into effect. We can just break the pleats away to give ourselves a little bit more room to manoeuvre and you want to just have these sitting as tight to the membrane as you can. And then just to secure them in place, take your staple gun and fix them in. Now, there is a little less space to work, obviously with the batten spacing for plain tiles so if easier, use a hammer axe and staple gun. As we get to the next batten, same again. Break the pleats and just pinch the membrane around like so. And then just carry this on along either length of the window and then we're ready to start dressing the top section in.
Installing the Transverse Drainage Channel
So in preparation for the drainage channel being fitted at the top, we've already cut a flap in the existing membrane which is going to tuck into the drainage channel along with the felt collar. But in doing that, we've naturally created the potential for water ingress underneath the membrane. So as part of the kit that we provide, we have two strips of butyl putty and all we'll simply do is peel off a single strip for each side and we're going to run that down the outer edge of each cut. And that will give us a nice weather tight seal. So I’ve loosened off the fixings of this batten, so that will enable me just to feed that underneath initially, and then just lift the batten up and you just want to stick the butyl just along the outside edge of our cut.
Once that’s in place, just press that down so it's on the rafter underneath. Be generous. Don't worry about holding back on this. The more we have of the butyl, the more protection we're going to create. So once that's stuck down, we can just peel off the protective layer. And then do the same on the opposite side. So as before, tuck underneath, lift up the batten so we can slide that under. This time we'll stick a little bit of that up the face of the batten because our cut is just towards the batten face. So that will just give us that added protection. And again, as before, we’ll then just peel off the protective outer coating. With the butyl in place, when we come to screw the drainage channel in position later on, or actually just allow it to be fixed down through the baton, it's going to squeeze into this butyl and basically seal off that joint underneath. So what we need to do next is feed this under felt collar underneath this batten to allow the drainage channel to rest on top and then we'll tuck the drainage channel underneath this upper batten. We have to do this because unfortunately, with a plain tile roof, there is a lot less room to work because of the 100mm gage. So there is a lot less space to incorporate the drainage channel when you compare it to slate or even interlocking tile. So we'll feed that through, making sure we don't lift the butyl away.
So with this now in place, we'll open this up and slot the drainage channel into here. The drainage channel is extendable. So you'll see as you extend it, you'll have a single fixing hole on one side and a choice of fixing holes on the other side. They can be extended to the right or to the left. Whichever way you extend, you'll always be left with the option of a single fixing and multiples. I often find it's better to put the single fixing to the high end because that's your first reference point, because as with any gutter, you want a slight fall to take the water off as efficiently as possible. So what we're going to do is extend this and then place it into this gap initially. So we're just lining our fixing hole to the rafter below. Then as we lift this batten up, we'll slide the drainage channel in place and we just have to make sure that our membrane that we’ve cut previously can slot into the drainage channel. So as I said, unfortunately a little fiddly due to the cramped space that we're working in. So with that now fed through, we can slide the drainage channel up until it meets the junction point where we first cut, and do the same on the opposite side. So now we create this little channel in the membrane. Now, we're unable to fix through here because you can see our fixing hole is now under the batten, so when we fix our batten back down, that will hold the drainage channel in position and keep that fall on the gutter itself.
The gutter is resting on the batten at this end so that helps to keep the fall on the gutter. So as I peel off one of these clips, you'll see the shape. It's a wedge shaped design, so it's thinner at the base than it is at the top and this is to ensure that when it's fitted, any water that runs in can still flow away through the gutter. So to fit it, I often find it easier just to pop your fingers inside the clip. Make sure the membrane is neatly tucked inside and then slide that in, put your thumb underneath to anchor and just pull that into position. You'll hear a little click and that’s the spring mechanism almost just holding it tightly. Take another couple and just pop these along the gutter as you go. The number of clips you need to put in will depend on how long this is going to be left exposed to the elements. This membrane can be left exposed for up to three months before the UV would degrade it, but ideally, you're going to have this covered over with the flashings as soon as possible. But if it were going to be left overnight, pop a few more clips in, just to make sure the wind doesn't pull that membrane out of the gutter. With all of that in place, we're now ready to fit the external flashings.


