How to Build the Perfect Flat Roof
Of the types of roofing materials available, the one that is most easily conquered by the homeowner is the flat roof. The flatness of the roof makes the job less of an accident risk that working on a pitched roof and can also be nearer to the ground. The methods of applying the roofing felt are also relatively straightforward compared to tiling with concrete or slate can be.
Options for a perfect flat roof
There is a variety of different flat roof materials currently on the market that the homeowner can choose between.
Each has pros and cons so here is a brief look at them to help see which may be right for your roof.
EPDM, or Ethylene Propylene Diene Monomer, is a synthetic rubber that is often found used in single ply roofing for two reasons; it is easy to get and simple to use. It has developed in recent years to include factory-applied tape to some products to simplify installation and is generally low cost. It typically lasts from 30 to 50 years, depending on the exact product and can be installed using three methods. These are ballasted, where large round stones or slabs keep the roofing in place; mechanical, where nails keep it in place and fully adhered which gives the longest performance.
GRP is a single-ply laminate that is put on the roof over good quality, conditioned plywood then finished with special, pre-formed GRP edge trims. A coat of pre-pigmented topcoat is then added. This material is known for durability and being lightweight and is used on the construction of boats and automotive panels as well as for roofing.
Roofing felt is the easiest material to be applied to a flat roof. Usually it works by adding two layers of material to the roof one at a time then finishing with a third layer to which a waterproofed finish is added. Roofing felt is impregnated with bitumen and usually comes on a roll for ease of use.
Preparing a flat roof
Never work on a flat roof in the cold or wet weather as this could be dangerous and will mean you don't get the best finish. Also, make sure the roof is safe to be stood on before starting work, that there is no sign of rotten wood. Remember to check the soles of your shoes for anything sharp that could rip the roofing felt when you are working.
Before undertaking the replacement or addition of a flat roof covering, there are some basic preparation steps to be taken. Firstly, if this is a replacement, make sure all the old felt has been removed and any protruding nails are cleared. If this is a new roof, make a quick check for any protrusions above the wood in the same way. Around half an hour before starting, unroll the roofing material.
Laying the felt
The first layer applied if you are using roofing felt is a layer of underlay. This is attached straight to the wooden deck at right angles to the direction of the fall of the roof. Firstly, cut the underlay into length with a sharp knife and working from the centre of a sheet, nail it to the decking along one edge, nailing around every 150mm with 20mm galvanised clout nails.
The next step is to apply another layer of underfelt that overlaps at the end where there are no nails. Leave at least 50mm overlap then beginning from the centre, begin nailing again. This time you will be nailing through two layer of underlay so put the nails in the centre of the overlapped area.
The second layer is applied with adhesive rather than nails. Start with a half width sheet so the joins in pieces aren't in the same place as on the bottom layer and follow the manufacturer's instructions for the adhesive. The adhesive normally needs to dry for a short time before adding the felt. When it is ready, begin laying the second layer, ensuring there are no air pockets as you go. Work in one-metre lengths to ensure a good finish.
Gutter drips
The edge of the roof where water runs off into the guttering are called gutter drips. These need to be fitted before the final layer of roofing felt is put into place. Take a length of the top layer around 350mm wide and nail these to the timber batten which runs around the edge of the roof, ensuring the mineral finish is facing the wall.
Once this is done, fold the felt back so that the fold is below the top of the guttering and apply the adhesive to bond the folded area together. Finally fold back to the felt to the top of the roof and stick down around 175mm from the roof edge.
The top sheet
The top layer or sheet of the roofing material is the one that has a mineral chippings finish to it. It is applied in the same method as the second layer using adhesive. Make sure that any loose chips of the covering are swept away as you are laying it for a flat finish.
Finish touches
Verge edges are designed to stop water spilling over the side of the roof and instead guides it to the guttering. These are fitted once the top layer of roofing material is in place. This is done by finishing the fascia boards at the sides of the roof. Where the back of the fascia's come together with the roof, there is a triangular area around 50mm square. Cut a length of the top layer of material around 200mm in width and nail to the batten that runs along the edge of the roof, with mineral chippings facing to the wall. Follow the same method as with guttering drips and finish with adhesive to seal.
Vertical edges are the spot where the roof butts against the wall in a similar manner to verge edges. It can be treated in the same way but an extra piece of felt should be cut that extends onto the roof by around 150mm and up the wall to the same distance. Put the adhesive onto the rear of the felt and stick into position, being wary of any air pockets. This is when you put your chosen flashing into place, following the manufacturer's instructions. Mortar is usually used to seal this and ensure the flashing remains in position.
Conclusion
Once all the finishing touches are done, check the roof and see if any extra adhesive is needed anywhere. Some people choose to add a silver solar paint layer on top of this to help deflect the sun and the damage it does over time to felt but avoid putting this on guttering or the verge drips. The guttering can then be reattached and the roof is finished.
Our Top Videos.


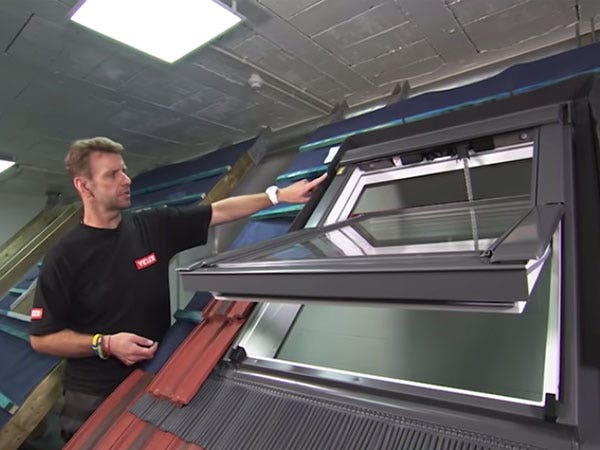
How to install a Velux Integra Electric Roof Window (5 Parts)
In this five-part guide, we take you through the full installation of a Velux GGU Centre Pivot Integra Roof Window onto an...


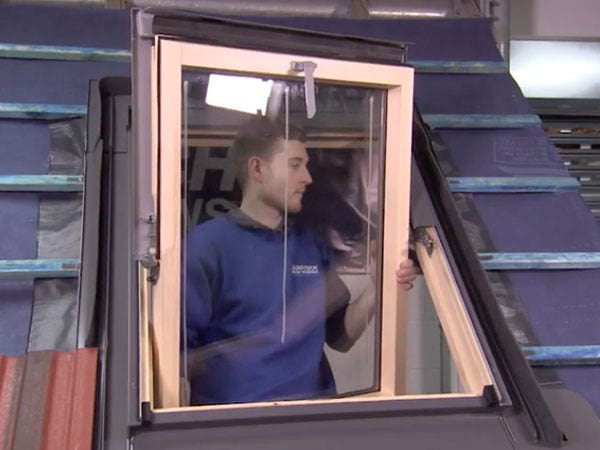
How to install a Duratech Centre-Pivot Pine Roof Window
Once you begin unpackaging the window, you’ll find in the box the brackets, the handle and the fixings. And there will also be some instructions...
Ideas & Advice
How-tos, tutorials and videos


How and why to use or snap a chalk line
Chalk lines are the fastest way to mark straight guidelines on flat surfaces. They are used extensively in the building and construction industry to speedily and accurately ‘draw’ straight lines between two points. Chalk lines are inexpensive tools...


Skylight Blinds: A Guide To The Different Types
Like many household product, blinds for skylight windows come in all shapes, sizes, and materials. Some are designed with a tangible purpose in mind, while others are more for show. One thing’s for sure - buying any type of skylight blind...


