Replacing roof flashing
Flashing is used on a roof when a roof line joins with a vertical surface such as a chimney or other building elevation. It's critical to get the flashing right in any repair or new installation as it's commonly the flashing which is the first point of failure.
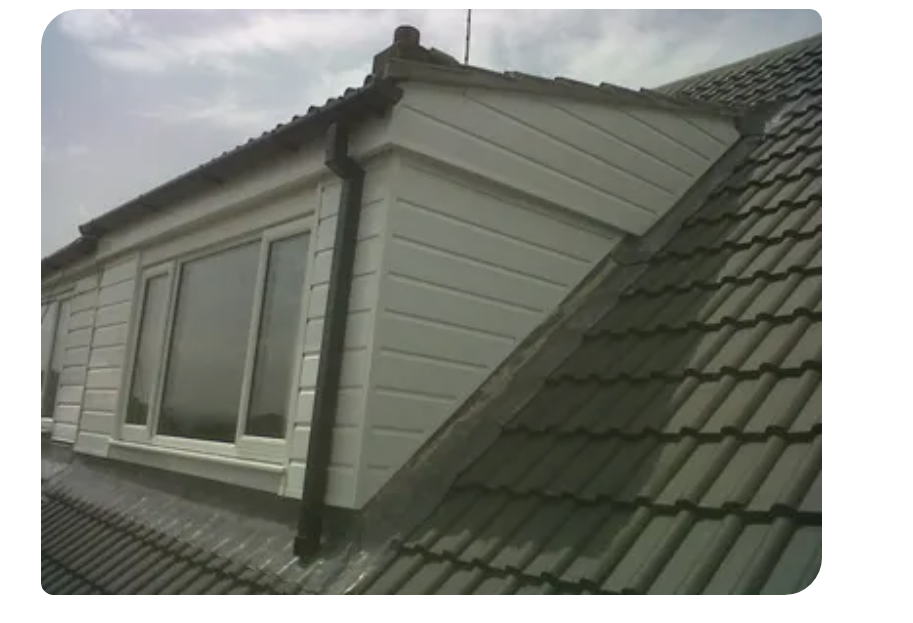
The flashing is used to stop water entering your home, however after being in use for a long period of time, flashing can corrode or the mortar holding the flashing in place can deteriorate. If you have a leak from a section of flashing, there's a good chance that the flashing on that section of wall or chimney will need replacing in its entirety. Replacing roof flashing can be a difficult job which is best given to a professional as it takes time, experience and specialist equipment. While pre-prepared flashing kits for roof windows are relatively simple to install and can be handled by someone with basic skills, most flashing is complicated and needs to be done well.
If you are replacing roof flashing you will need:
- Flashing material
- A soft hammer
- Tin snips
- A working bar
- Gloves
- Mortar or Portland cement
It can be very difficult and time consuming to remove existing flashing, so if possible it's always a better idea to install the new flashing over the existing flashing. When you're replacing roof flashing, it's imperative that the flashing is bedded into the wall or structure properly and covers the entire area to make sure it is leak free.
While non-lead alternatives are available, the high recyclability of lead and the ease with which it can be shaped means that it is a very environmentally conscious choice and the longevity of it means that if it is properly done it can last a generation or more.
Replacing roof flashing is a skilled job and something that the novice DIYer should not attempt to do. If in doubt, always consult a professional roofer.
Our Top Videos.
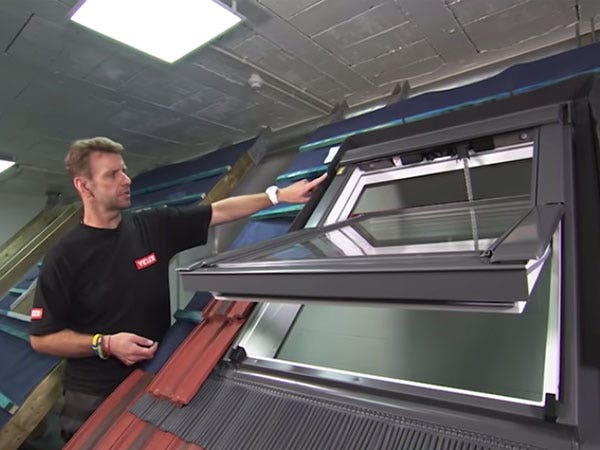

How to install a Velux Integra Electric Roof Window (5 Parts)
In this five-part guide, we take you through the full installation of a Velux GGU Centre Pivot Integra Roof Window onto an...
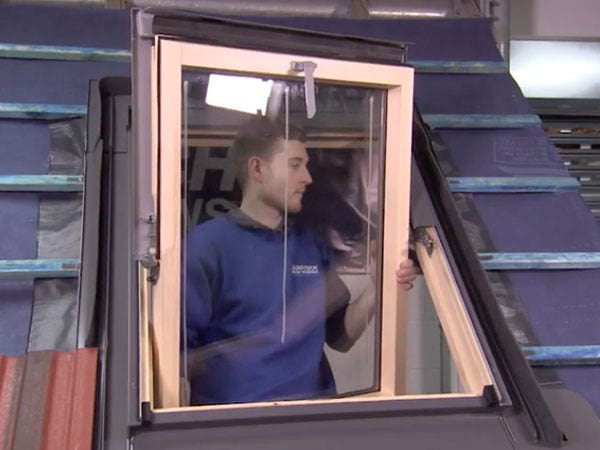

How to install a Duratech Centre-Pivot Pine Roof Window
Once you begin unpackaging the window, you’ll find in the box the brackets, the handle and the fixings. And there will also be some instructions...
Ideas & Advice
How-tos, tutorials and videos


How and why to use or snap a chalk line
Chalk lines are the fastest way to mark straight guidelines on flat surfaces. They are used extensively in the building and construction industry to speedily and accurately ‘draw’ straight lines between two points. Chalk lines are inexpensive tools...


Skylight Blinds: A Guide To The Different Types
Like many household product, blinds for skylight windows come in all shapes, sizes, and materials. Some are designed with a tangible purpose in mind, while others are more for show. One thing’s for sure - buying any type of skylight blind...


