The Great And Good Guttering Guide
Rainwater gutters are a critical component of a roofing system and represent a long-term investment in the infrastructure of a building.

Why is Guttering Needed?
Gutters are essentially troughs which collect the rainwater which runs off a roof and channel it to downpipes that carry the water to the ground to drains, away from the windows, doors, and foundations of the property. They are vital for carrying water away from the property, and preventing the problems associated with water ingress, damp and condensation.
Types of Guttering
Gutters come in a wide variety of styles and profiles, and are manufactured from a number of different materials:
Aluminium
Aluminium guttering is supplied in various thicknesses and gauges such as 0.32 (recommended for heavy snow regions), 0.27 and lighter. Aluminium gutters come in various colours, can be painted, and do not suffer from corrosion.
Plastic/uPVC
Plastic guttering is a popular choice as it is lightweight and easy to install. The sections of the guttering clip easily together and require very little maintenance.
Cast Iron
Cast Iron was the traditional choice of guttering for many years, and it is particularly hard-wearing. The downside is that it is extremely heavy. It needs to be painted and sections are joined with mastic, nuts and bolts.
Copper
Another option is copper guttering, which is also durable and easy to install. It is less common but over time the bright finish weathers to an attractive verdigris' (green patina).
Guttering Shapes
Common gutters have a round or square shape but a variety of different profiles are available. The most common is half-round guttering. Box guttering has a half-square profile, while square line guttering provides a decorative alternative to half-round guttering. Ogee style guttering is produced to match the Victorian style moulded guttering that has been used throughout the UK for over 150 years; it is now available in a variety of different materials.
Installation
If you are installing your own guttering system, a good place to start is by measuring the length of guttering and downpipe that will be required for the project. Make a list of any connectors, stop ends, angle pieces, gutter outlets, clips/brackets (usually spaced roughly 760mm apart), and fixings that will be needed.
- At the side furthest from the drain hold a gutter bracket against the fascia in a position where, if the gutter were fitted, it would be just below the edge of the roof tiles. Mark the point with a screw, and measure the distance from the top or bottom of the fascia board.
- The guttering must have a fall of at least 5mm over a distance of 920mm. Measure the length of the fascia and calculate the depth the fall will need to be.
- Moving to the other end of the fascia mark up where the bracket should be fixed allowing for the continuous fall.
- Tie a line between the two points and you will have a guiding line for the brackets along the length of the fascia.
- Fix the brackets to the fascia at the recommended distances refer to manufacturers guidelines.
- Fit the gutters into place. If you are using uPVC guttering it normally simply clips into place.
- Fit the stop ends, connectors and gutter outlet for the downpipe. Cut to length with a hacksaw and remove any burrs with a half-round file.
- Double-check the fall of the gutter to make sure it is correct.
- The downpipe may require offset bends to be fitted just below the gutter outlet so that the pipe can be fixed against the wall.
- Starting from the highest point on the downpipe, clips should be fixed to the wall using rawlplugs and screws. Check the manufacturer's instructions for the size and type of screw required. Generally screws should be spaced approximately 4 to 5 feet apart.
- Use a spirit level to check that the downpipe is straight after securing it to the brackets.
- The base of the downpipe may require one or more offset bends to be fitted to ensure that it terminates over the drain.
Maintenance
Cleaning and maintaining gutters is an important job, but one that often gets forgotten as they are out of sight. Defective or blocked guttering can cause a variety of problems to a property as the water that should have been carried away is able to penetrate the house and cause various problems with damp.
A Gutterbrush can help prevent many problems but, if you don't have one installed, typical problems may include:
- Blockages in the gutter from leaves and debris.
- Blockages in the downpipe.
- Leaks caused by damaged or cracked joints.
- Sagging gutters caused by overloading, or faulty brackets or screws.
When clearing a gutter it is important to work away from the downpipe to prevent debris from being pushed towards, and down the pipe. Use a trowel or a piece of wood to scoop leaves and debris out of the gutter until it is clear. You can check that it is flowing correctly and there are no leaks by pouring a bucket of water into the guttering.
If a downpipe has become blocked you can use a 'plumber's snake' or an extendable drainage rod to remove debris. Start at the top and push the rod through the downpipe, dislodging the debris as you go. Make sure you cover the top of the drain underneath the downpipe to stop debris going down the drain.
If the downpipe remains blocked and you can't remove the debris, try tapping down the length of the pipe to ascertain where the blockage is. Remove the screws which hold the bracket at the lowest part of the blocked section. Carefully remove the blocked section and clear the debris before re-positioning it and restoring the screws.
Another potential problem is sagging guttering, which could be caused by a broken bracket, too few brackets being fitted in the first place, or the lack of a consistent fall. If water is collecting at any point in the guttering to a depth of more than 25mm, it will need to be re-positioned. Check for broken brackets and replace them. Check the spacing between brackets to make sure they are close enough and are providing enough support. If necessary re-position the brackets to create a steeper fall which will ensure that the water flows away to the downpipe.
Our Top Videos.
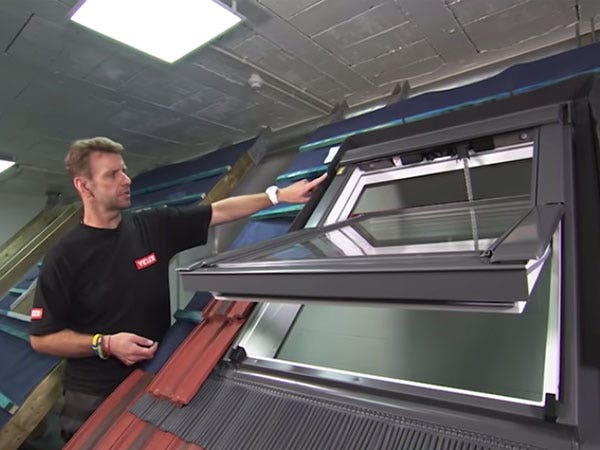

How to install a Velux Integra Electric Roof Window (5 Parts)
In this five-part guide, we take you through the full installation of a Velux GGU Centre Pivot Integra Roof Window onto an...
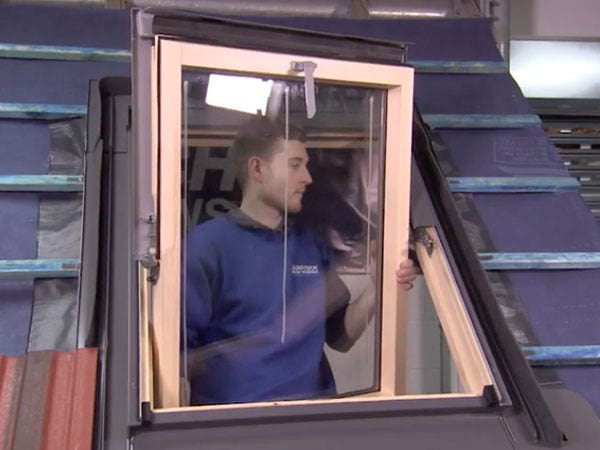

How to install a Duratech Centre-Pivot Pine Roof Window
Once you begin unpackaging the window, you’ll find in the box the brackets, the handle and the fixings. And there will also be some instructions...
Ideas & Advice
How-tos, tutorials and videos


How and why to use or snap a chalk line
Chalk lines are the fastest way to mark straight guidelines on flat surfaces. They are used extensively in the building and construction industry to speedily and accurately ‘draw’ straight lines between two points. Chalk lines are inexpensive tools...


Skylight Blinds: A Guide To The Different Types
Like many household product, blinds for skylight windows come in all shapes, sizes, and materials. Some are designed with a tangible purpose in mind, while others are more for show. One thing’s for sure - buying any type of skylight blind...


